

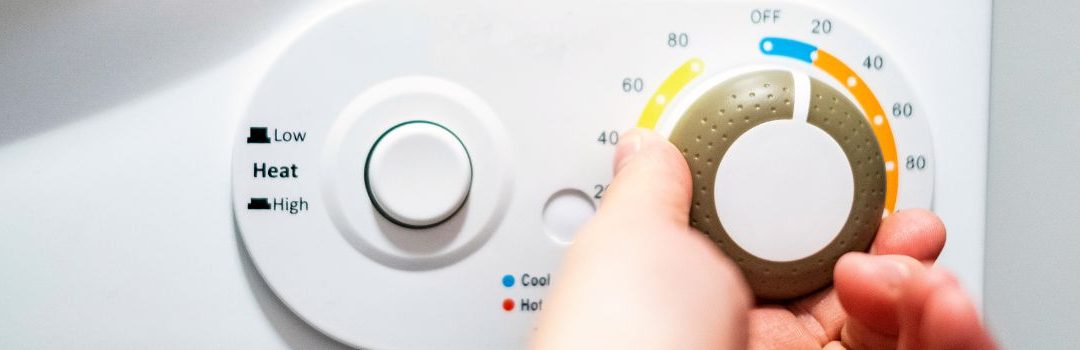
GE Dryer Not Working? Here’s How to Replace the Timer
The dryer timer is a crucial component in a GE dryer, responsible for controlling the drying cycles and ensuring the appliance functions properly. It regulates the duration of each cycle, switching between different phases such as heating, tumbling, and cooling down. When the timer works correctly, it helps achieve efficient drying and prevents damage to clothes. It’s just as important as knowing how to fix a torn lint screen, since both issues can impact dryer performance.
However, timer failure is a common issue that can disrupt the dryer’s operation. Signs that the timer may be failing include the dryer not advancing through cycles, producing no heat, or cycles not completing as expected. Recognizing these symptoms early can help prevent further damage and ensure your dryer continues to operate smoothly.
Understanding the GE Dryer Timer
What is a Dryer Timer?
The dryer timer is a critical component that regulates the entire drying cycle. It controls how long the dryer runs and when different functions such as heating and tumbling start and stop. Essentially, it acts as the brain of the dryer, ensuring that each stage of the drying process happens in the correct order and for the right amount of time.
GE dryers typically use two types of timers: mechanical and electronic. Mechanical timers operate through a series of gears and cams, physically turning the dial to advance the cycle. Electronic timers, on the other hand, use digital controls and circuits to manage the timing more precisely. Both types perform the same basic function but differ in durability and complexity.
Symptoms of a Faulty Timer
A faulty dryer timer often causes noticeable issues during operation. One common symptom is the dryer stopping mid-cycle, leaving clothes damp and requiring a restart. Another sign is the absence of heat or inconsistent heating during the drying process, which can prolong drying times or lead to improperly dried clothes. Additionally, the timer knob may become difficult to turn or get stuck, indicating mechanical failure within the timer itself. Identifying these symptoms early can help prevent further damage to the dryer.
Preparation Before Replacement
Identifying Your Dryer Model
Before replacing the timer on your GE dryer, it’s important to identify the exact model number. This number is usually found on a sticker or metal plate located inside the door frame or on the back of the dryer. For example, a model number might look like GTD42EASJ2WW. Knowing your model helps ensure you get the correct replacement timer.
Tools Required for Timer Replacement
To replace the timer on your GE dryer, gather the following tools:
- Phillips and flathead screwdrivers for removing panels and screws.
- Nut drivers to handle any nuts securing the timer.
- A multimeter to test the timer and verify electrical connections.
- The correct replacement timer part number for your model, such as WE04X24550.
Having these tools ready will make the replacement process smoother and safer.
Safety Precautions
Safety is crucial when working with electrical appliances. Before starting the replacement:
- Always unplug your dryer from the power outlet to eliminate the risk of electrical shock.
- Be cautious to avoid any electrical hazards, especially when handling wiring and components.
- Set up your workspace in a well-lit, dry area with enough room to move and place removed parts.
Following these precautions will help ensure a safe and effective timer replacement.
Step-by-Step Guide to Replacing the GE Dryer Timer
Accessing the Timer
Begin by unplugging the dryer to ensure safety. Remove the timer knob by gently pulling it straight off the shaft. Next, detach the control panel by unscrewing any visible screws securing it in place. Carefully lift the panel to expose the timer and its connected components.
Removing the Faulty Timer
Locate the wiring harness connected to the timer. Disconnect the wiring harness carefully by pressing any release tabs and pulling the connectors apart to avoid damaging the wires. Then, unscrew the screws holding the timer to the control panel and remove the faulty timer from its position.
Installing the New Timer
Position the new timer in place, aligning it with the screw holes on the control panel. Secure it by tightening the screws firmly but do not overtighten. Reconnect the wiring harness to the new timer, ensuring each connector is properly seated and locked into place.
Reassembling the Dryer
Reattach the control panel by positioning it back and fastening all screws securely. Replace the timer knob by pushing it firmly onto the timer shaft until it clicks into place. Double-check that all screws and components are tight and the panel is firmly attached.
Testing the Dryer Post-Repair
Plug the dryer back in and run a test cycle. Observe the timer to confirm it advances correctly through the cycle. Ensure the dryer operates normally and the timer functions as expected.
Troubleshooting Common Issues
Timer Not Advancing After Replacement
If your GE dryer’s timer isn’t advancing after you’ve replaced it, the issue could be related to wiring or installation errors. First, double-check that all connections are secure and correctly positioned according to the wiring diagram in your dryer’s manual. A loose or improperly connected wire can prevent the timer from moving forward. Additionally, inspect the timer motor itself if it’s defective, the timer won’t advance even if installed correctly. Testing the timer motor with a multimeter can help determine if it needs replacement.
Dryer Not Heating Despite New Timer
Replacing the timer doesn’t always fix heating problems. If your dryer isn’t heating after installing a new timer, other components may be at fault. Check the heating element, thermal fuse, and high-limit thermostat for continuity, as any of these parts failing will prevent the dryer from heating. Also, ensure the timer you installed is compatible with your specific GE dryer model; an incompatible timer might control the cycles but fail to engage the heating system properly.
Timer Knob Loose or Slipping
A loose or slipping timer knob can make it hard to select drying cycles accurately. This often happens if the knob’s internal clip or set screw is worn or broken. To fix this, remove the knob and inspect the attachment mechanism. Replacing a damaged knob or tightening the set screw can restore proper function. If the timer shaft itself is stripped or damaged, the entire timer assembly may need replacement to ensure reliable operation.
Additional Tips and Best Practices
When replacing the timer on your GE dryer, using Original Equipment Manufacturer (OEM) parts is crucial for ensuring reliability and proper fit. OEM parts are designed specifically for your dryer model, which helps maintain optimal performance and reduces the risk of malfunction.
While many timer replacements can be done by a confident DIYer, it’s important to know when to consult a professional technician. If you encounter complex wiring, signs of electrical damage, or if the problem persists after replacement, a licensed technician can provide the expertise needed to avoid further damage or safety hazards.
To prolong the life of your timer and overall dryer function, routine maintenance is essential. Regularly clean the lint filter and dryer vent to prevent overheating, check the timer connections for signs of wear or corrosion, and avoid overloading the dryer. These simple steps can help extend the lifespan of your timer and keep your dryer working efficiently.
Conclusion
Replacing the timer in your GE dryer is essential to maintain its proper function and avoid extended downtime. A faulty timer can lead to incomplete drying cycles or the dryer not starting at all, so addressing the issue promptly ensures your appliance runs efficiently.
When performing any repairs, especially DIY replacements, always prioritize safety. Disconnect the dryer from the power source before starting, follow the manufacturer’s instructions carefully, and use the appropriate tools. Taking these precautions will help you complete the repair successfully and safely.

LET’S CONNECT
OPEN HOURS
Mon-Fri: 8AM-6PM
Saturday: 10AM-6PM
Sunday: 10AM-6PM
QUICK LINKS:
LET’S CONNECT
(778) 600-1787
service@langleyappliancesrepair.ca
OPEN HOURS
Mon-Fri: 8AM-6PM
Saturday: 10AM-6PM
Sunday: 10AM-6PM
QUICK LINKS:
© 2025 Langley Appliances Repair All Rights Reserved | Privacy Policy | Sitemap