

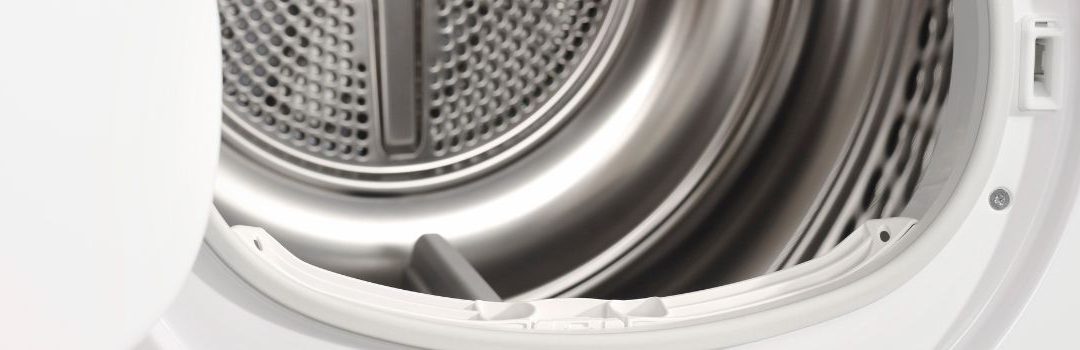
Quick Fix for a Dryer Door Switch Not Working in Langley Homes
A properly functioning dryer door switch is essential for the safe and efficient operation of your dryer. This small but crucial component ensures that the dryer only runs when the door is securely closed, preventing accidents, energy waste, and excess noise especially when paired with noise reduction techniques for a quieter laundry experience.
When the dryer door switch fails, you may notice common symptoms such as the dryer not starting, the drum not spinning, or the dryer stopping mid-cycle. Sometimes, the dryer may run continuously without stopping because it does not detect that the door is open.
Fortunately, many issues with the dryer door switch can be resolved with quick fixes, such as cleaning the switch, adjusting its position, or replacing a faulty switch. However, if these simple solutions do not work, it may be time to call a professional technician to diagnose and repair the problem safely and effectively.
Understanding the Dryer Door Switch
What is a Dryer Door Switch?
The dryer door switch is a small but crucial component in your dryer that ensures safety and proper operation. Its primary role is to detect whether the dryer door is closed. When the door is open, the switch prevents the dryer from running, protecting you from potential injuries and avoiding damage to the appliance. This safety feature stops the dryer drum from spinning or the heating element from activating until the door is securely latched.
Common Causes of Dryer Door Switch Failure
Several factors can cause a dryer door switch to fail, leading to your dryer not starting or stopping unexpectedly:
- Wear and Tear: Over time, frequent opening and closing of the dryer door can wear out the switch mechanism, making it less responsive or nonfunctional.
- Dirt or Lint Buildup: Accumulated dirt, dust, or lint around the switch can obstruct its operation, preventing it from properly detecting the door status.
- Electrical Issues: Faulty wiring or internal electrical problems within the switch can disrupt the signal, causing the dryer to behave as if the door is open even when it is closed.
Identifying these common issues can help Langley homeowners troubleshoot and address dryer door switch problems effectively.
Diagnosing a Faulty Dryer Door Switch
Initial Visual and Manual Inspection
Begin by pressing the dryer door switch to see if it clicks. A functional switch usually makes a distinct clicking sound when pressed. If you don’t hear a click, the switch might be faulty or stuck. Also, inspect the switch for any visible signs of damage such as cracks, corrosion, or misalignment. Sometimes the door or switch can be misaligned, preventing proper contact. Ensuring the door closes firmly and the switch is properly seated is a crucial first step in diagnosing the problem.
Using a Multimeter to Test Continuity
If the visual inspection doesn’t reveal obvious issues, use a multimeter to test the door switch’s electrical continuity. First, unplug your dryer for safety. Locate and remove the dryer door switch, which usually involves removing the dryer’s front panel or accessing it through the door opening. Set your multimeter to the continuity setting or lowest ohms setting. Touch the multimeter probes to the switch terminals. Press the switch; a good switch will show continuity (a continuous electrical path) when pressed and no continuity when released. If continuity does not change, the switch is likely defective and needs replacement.
Other Diagnostic Checks
If the dryer makes no noise or does not start when you press the start button, consider testing the start switch as well. A faulty start switch can mimic symptoms of a bad door switch. Additionally, inspect the wiring and connections related to the door switch for any loose, frayed, or disconnected wires. Sometimes wiring issues rather than the switch itself cause the problem. Ensuring all wiring is secure and intact helps rule out electrical connection problems.
Step-by-Step Guide to Fixing or Replacing the Dryer Door Switch
Safety Precautions
Before starting any repairs on your dryer, always unplug it from the power source to avoid electrical shock. Use the appropriate tools, such as screwdrivers and pliers, to prevent damage to the dryer or injury to yourself.
Removing the Dryer Door Switch
To access the dryer door switch, open the dryer door and locate the switch inside the door frame. You may need to remove the dryer’s front panel or door seal to reach it. Once accessible, carefully detach the electrical connectors from the switch and unscrew any screws holding it in place. Keep track of all screws and connectors for reassembly.
Installing a New Door Switch
When choosing a replacement door switch, ensure it matches the model and specifications of your dryer. Installing the new switch involves connecting the electrical connectors to the new unit and securing it with screws. Make sure the switch is properly aligned and firmly attached to avoid any malfunction.
Testing After Replacement
After installing the new door switch, plug the dryer back in and close the door. Start the dryer to confirm it operates normally. Check that the door switch responds correctly by opening and closing the door; the dryer should stop when the door opens and start when it closes.

LET’S CONNECT
OPEN HOURS
Mon-Fri: 8AM-6PM
Saturday: 10AM-6PM
Sunday: 10AM-6PM
QUICK LINKS:
LET’S CONNECT
(778) 600-1787
service@langleyappliancesrepair.ca
OPEN HOURS
Mon-Fri: 8AM-6PM
Saturday: 10AM-6PM
Sunday: 10AM-6PM
QUICK LINKS:
© 2025 Langley Appliances Repair All Rights Reserved | Privacy Policy | Sitemap